Nail Drill Angle on the Depth of the Finish: Experience Sharing and Optimization Techniques

For nail technicians and experienced enthusiasts who frequently use nail drills, the operating angle is often more crucial to the final nail design than speed, spin speed, or even the choice of drill bit. Even when using the same drill bit, subtle adjustments to the angle can directly impact the smoothness of the nail surface, the precision of edge finishing, and the quality of detailed sculpting.
This article will share practical experience on how to improve nail art results, protect the nail surface, and solve common problems encountered in long-term practice by adjusting the angle of operation.
1. The effect of operating angle on grinding uniformity
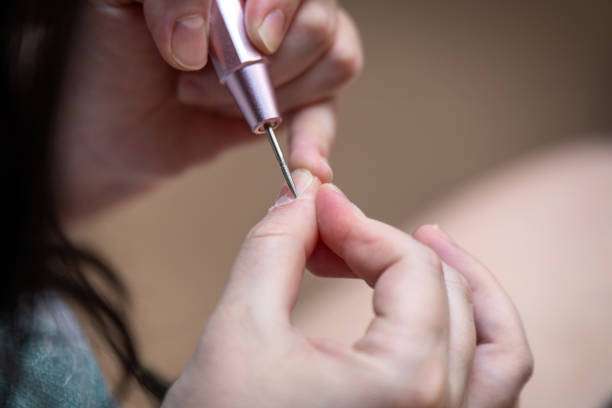
In later stages of the process, I’ve noticed many users overlook the importance of fine-tuning the angle. While a right-angle approach (90° vertical) is fast and efficient and suitable for thick nail surfaces, it can easily create slight dents at the nail tip or edges. In contrast, a slight tilt (30°–45°) better conforms to the nail’s curve, making it ideal for working on nail tips, edges, and chamfers, preventing excessive abrasion while ensuring even filing.
First, use a right angle to quickly smooth the nail surface, then tilt and adjust the edges and tips. This saves time and ensures a smooth nail surface.
2. The long-term effects of angle on nail health
long-term use of a nail drill, the following problems can easily occur:
Nail layer peeling or thinning
concave edges
Minor scratches on the nail bed
I’ve encountered clients with slightly concave nail tips, caused by an overly straight operating angle and excessive pressure. Adjusting to a slight tilt and controlling the pressure resulted in minimal damage to the nail surface during subsequent procedures. This demonstrates that the nail drill angle not only affects the manicure’s appearance but also determines the long-term health of the nail surface.
3. Angle optimization for different nail art types
Extended nail
The extended armor has a large thickness, requiring consideration of both the surface and edges:
Thick nail surface: Right-angle rapid polishing
Edges and nail tips: 30°-45° angled operation
Chamfering and nail seams: Small ball drill bit + tilting operation
This combination reduces rework and nail surface damage while ensuring coating adhesion.
French manicure
French manicures emphasize clean lines and even coating:
Line engraving: 10°–20° slight tilt
Edge polishing: 30° angle to ensure a natural nail tip.
Gloss polishing: Slight tilt + light pressure
In practice, I found that grinding the edges first and then fine-tuning the angle can significantly improve the precision of the finished product.
Carved nail art
Carving requires the most precise angles:
Detail lines: 10°–15° tilt, used with a small drill bit
Edge treatment: 30° angle to prevent scratching the nail bed.
Relief pattern: The angle combined with drill bit rotation ensures uniform depth.
Experience tells me that fine-tuning the angle can make the sculpted lines cleaner, reduce rework, and protect the nail surface.
4. Drill bit and angle matching techniques
| Drill bit type | Recommendation angle | Use cases |
| cylindrical drill bit | 20°–30° | buff the entire nail surface |
| Spherical drill bit | 30°-45° | Clean up corners and edges |
| Grinding wheel drill bit | 90° | Thick nails, rough grinding |
| Small cone drill bit | 10°–20° | Detail carving and line embellishment |
Based on practical experience, I usually adjust the angle flexibly according to the type of drill bit and the thickness of the apron, which is also the key to improving efficiency and quality in later operations.
5. Common Post-Processing Issues and Angle Adjustments
Question 1: The edge of the nail tip is concave
Causes: Operating angle too straight, pressure too high
Solution: Tilt the drill bit at a 30° angle and gently rotate it to grind the edge.
Question 2: Uneven nail surface shine
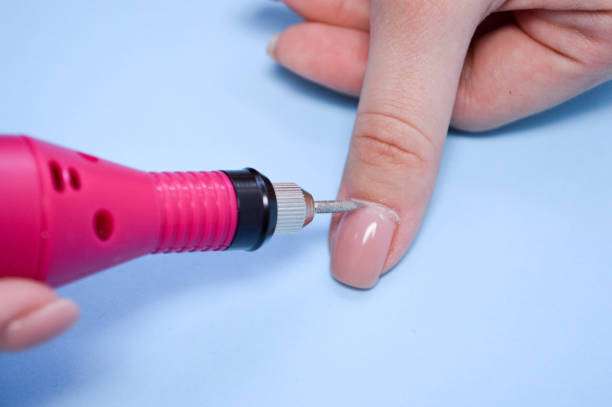
Cause: Uneven angle, varying depth of polishing
Solution: Lightly grind in sections, maintaining a slight tilt angle during polishing.
Question 3: Offset of engraved lines
Cause: Insufficient drill bit tilt angle or unsteady hand.
Solution: Small drill bit + slight tilt to stabilize the wrist
Question 4: Nail bed is sensitive or easily injured
Cause: The operating angle is too straight.
6. The effect of angle on the long-term effect of nail art
Angle control not only affects the final result of the manicure but also determines the durability of the coating and the health of the nail surface:
Precise angle + appropriate pressure: smooth nail surface, even shine, and long-lasting coating.
Angles that are too straight or arbitrary: nail tips are prone to denting, sculpted lines are blurry, and the coating is prone to peeling.
Slight tilt angle: Reduces damage to the nail bed and extends the life of your manicure.
Through long-term observation, I have found that mastering the technique of fine-tuning the angle reduces the rework rate and makes the finished nail art more professional.
FAQ:
Q1: What should I do if my nail surface becomes thin after long-term use of
a nail drill? A: Adjust the tilt angle, reduce high-pressure operations at right angles, and lightly grind in sections to reduce wear.
Q2: How to optimize the uneven edges of a French manicure using angles?
A: Use a small drill bit with a 10°–20° slight tilt for carving, and then trim the edges with a 30° tilt.
Q3: How to quickly determine the angle when carving details?
A: Observe the contact area of the drill bit, adjust the tilt angle to ensure the line depth is uniform, and keep your hand stable.
Q4: How should the operating angle be adjusted for clients with sensitive nail beds?
A: Increase the tilt angle to reduce pressure and gently rub multiple times to avoid damaging the nail bed.
Q5: How to match the operating angle with the drill bit?
A: 20°-30° for cylinder, 30°-45° for sphere, 10°-20° for small cone, 90° for grinding wheel, and adjust flexibly according to the thickness of the surface.
Summarize
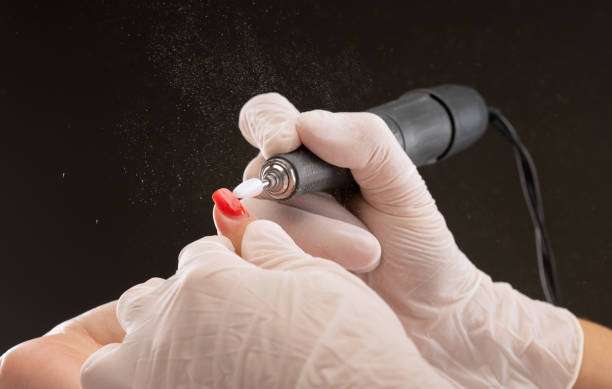
In the later stages of the manicure, the angle at which the nail drill is operated is a key factor in improving the final result and protecting the health of the nail surface. For experienced nail technicians and long-term enthusiasts, angle control determines efficiency and professionalism and is a crucial skill that cannot be ignored in the later stages of the manicure.
Want to make your nail drill operations more precise, faster, and safer? Choose a professional
nail drill set to easily control the angle, improve nail art results, and promote nail health!