
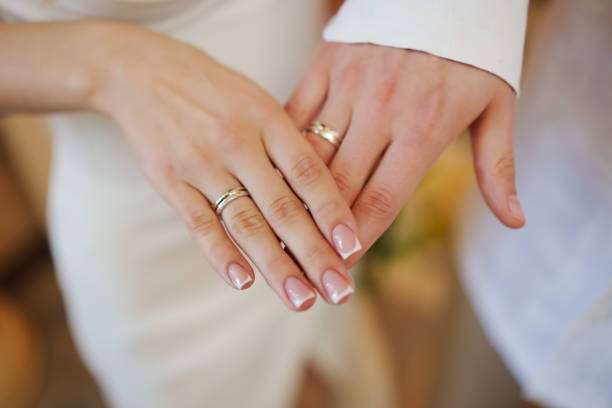
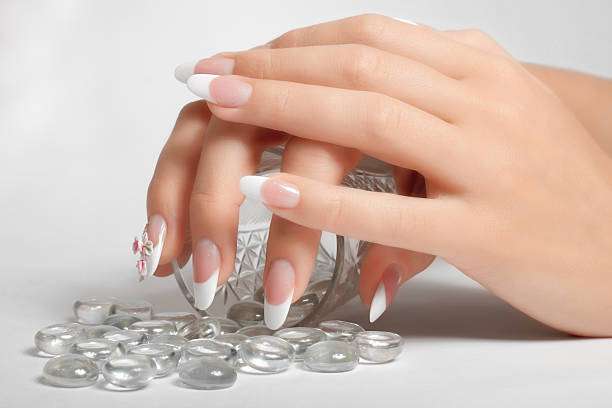
French manicures are a classic design due to their clean and elegant appearance. Their white tips and natural nude base make them a top choice for many occasions. However, achieving the perfect white tip can be challenging. Fortunately, using a nail drill can make the process easier, faster, and more precise.
Why use a nail drill for French manicures?
The key to French manicures lies in clean lines and striking contrasts, especially the perfect white tips. However, achieving this can be quite challenging when using traditional tools. This is precisely where nail drills excel.
Nail drills offer adjustable speed and precision, helping you achieve control that’s difficult to attain by hand. Different attachments on the drill bit help you shape, file, and finely sculpt your nails, ensuring a clean, even French manicure tip every time. Furthermore, hand-painting saves time, allowing you to complete your manicure process much faster.
Tools needed for French manicure
Before we begin, let’s make sure you have all the necessary tools to create the perfect French manicure using a nail drill.
nail drill with adjustable speed settings so you can easily perform dressing, polishing, and detailing by adjusting the speed of different drill bits as needed.
Precision drill bit
Fine or round drill bits: These bits are perfect for cleaning cuticles around the nails and shaping the nail edges without damaging the natural nail.
Polishing drill bit: Before applying nail polish, use this drill bit to buff the nail surface to make it smoother and help the base color adhere better.
Trimming drill bit: The small trimming drill bit is an essential tool for creating the white tips of French manicures. It helps you precisely draw the perfect lines for the tips of each nail.
Nail polish and base coat
You’ll need a soft nude or pink nail polish as a base color and white nail polish for the tips. Don’t forget to prepare a good top coat to lock in the color and add shine.
Create French nail art using nail drill
Now that you have your tools ready, let’s see how to use a nail drill to create the perfect French manicure from start to finish.
Step 1: Cleaning and Preparing Your Nails The first step in creating a beautiful French manicure is preparing your nails. Use a nail drill with a fine round or ball tip to gently remove dead skin and impurities. This not only helps the nail polish adhere better but also ensures your nails look cleaner.
Step 2: Shaping the Nails After preparing the nails, the next step is to shape them. French manicures typically use square or round nails. Use a nail drill with a trimming drill bit to carefully shape the edges of the nails, creating a perfect base for the French tip.
A nail drill is very useful in this process, as it helps you quickly and evenly shape your nails, ensuring they are symmetrical and free of splinters, making nail polish application smoother.
Be careful when trimming; do not over-trim to avoid making your nails look unnatural.
Step 3: Buffing the Nail Surface After shaping your nails, the next step is to buff the surface. Use the buffing tip of a nail drill to gently buff the nail surface, removing any uneven areas. This not only ensures a smoother base coat but also helps the nail polish adhere better.
Step 4: Apply Base Coat After buffing the nail surface smooth, apply the base coat. Traditional French manicure base coats are usually nude or pink nail polish; you can choose any base coat that matches your skin tone. Apply a thin layer of base coat, ensuring an even coat. Once the base coat is completely dry, apply a second coat for increased coverage.
Step 5: Creating the French Manicure Tip Next comes the most interesting part: creating the white tip that defines the French manicure. This is where a nail drill becomes essential.
Hand-drawn: If you prefer the traditional method, you can use a fine nail art brush to hand-draw the pointed lines, but this is usually more difficult to control and can easily lead to uneven lines.
Using a nail drill: To ensure cleaner, more precise lines, you can use a nail drill with a trimming drill bit. Apply white nail polish to the tip of your nail, then use the nail drill to trim along the edge of the tip. The rotating drill bit will help you create smooth, perfect lines.
If you accidentally go outside the lines, don’t worry; just gently correct the edges with a cotton swab soaked in nail polish remover.
Step 6: After the white tip of the top coat has dried completely, apply a layer of top coat to set the French manicure effect. The top coat not only enhances the shine of the nail polish but also helps prevent the color from chipping.
Step 7: Cleaning and Repair
Finally, use the fine-edged tip of a nail drill to clean away any dead skin and spilled nail polish around your nails. This step will help keep your manicure neat and create a more refined look.
Conclusion:
Using a nail drill for French manicures is an efficient and precise method that allows you to easily achieve professional-grade results. It provides better control, smoother lines, and faster operation, making it the ideal tool for creating perfect French manicures.
Our nail drill is designed for home nail care. It’s easy to use and provides long-lasting results, making it the perfect companion for your perfect manicure.
Click here to purchase a nail drill and start your perfect nail art experience!