How to use a nail drill to create exquisite manicure in 15 minutes ?

Have you ever dreamed of having flawless nails, like those from a professional salon, but been put off by the difficulty of booking an appointment, the high cost, and the time it takes? Or perhaps you’ve tried a manicure at home, but the nail filing never yields the desired result, leaving uneven nails and dead skin residue?
As a nail art enthusiast, I share these challenges. But then I discovered a gadget that can revolutionize your at-home manicure experience: a nail drill . Not only does it give you a more professional look, but it also cuts the entire process down to a staggering 15 minutes. This guide will show you how to use it to create stunning nails quickly.
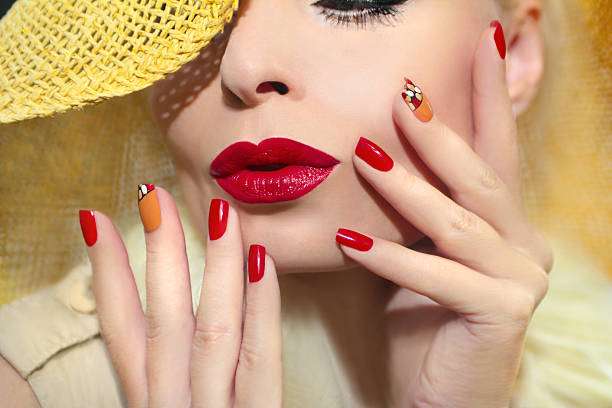
Step 1: Be prepared and get twice the result with half the effort
Like any successful project, the success of a manicure begins with thorough preparation.
Cleaning and disinfecting: First, wipe your nails thoroughly with an alcohol pad to remove all oil and dirt. This step is crucial as it ensures that the subsequent base coat and nail polish will adhere firmly.
Get your tools in place: Grab your nail drill, different burrs (like a barrel for manicures and a cone for exfoliating), and your favorite nail polish, base coat, and topcoat.
One time when I was getting a manicure, I realized that I hadn’t prepared any exfoliating heads in advance. When I went to look for them later, I realized that the alcohol cleaning step I had done was in vain.
Step 2: Efficient shaping, say goodbye to hand soreness
Traditional manual sanding tools are inefficient, often resulting in uneven nail shapes, and are time-consuming and labor-intensive. The advantage of a nail drill is that it can quickly and accurately shape nails.
To shape your nails: Install the barrel and adjust your drill to medium-low speed (about 9,000-10,000 RPM). Gently sand along the edge of your nails and you’ll quickly achieve a symmetrical, smooth nail shape.
Remove dead skin: Switch to a tapered drill head and lower the speed (approximately 8,000 RPM). Gently apply the drill at a slight angle (approximately 45 degrees) along the edge of the nail to gently remove dead skin and cuticles. This step is crucial for a flawless nail finish, as it allows subsequent polish to apply more smoothly and last longer.
I once did a manicure for a friend, but I didn’t polish the edges of the nails, which made the manicure look rough and flawed, and the nail polish kept peeling. So removing dead skin and cuticles is still a very important step.
Step 3: Coloring and sealing, the secret of lasting gloss
The nail drill has taken care of the most time-consuming preparations, now it’s time to enjoy the fun of creation.
Base coat: Apply a thin layer of base coat on a clean, flat nail surface. This is like putting a layer of protective clothing on the nails, which can not only protect the nail surface but also enhance the adhesion of nail polish.
Coloring: Choose your favorite color and apply it thinly, applying small amounts frequently. This allows each layer to dry faster and avoids air bubbles or a heavy, clumpy look. Generally, two coats are sufficient to achieve a saturated color.
Topcoat: Finally, apply a topcoat. It provides extra protection for your manicure, making the color last longer and the shine more brilliant.
Step 4: Finishing work, perfect ending
Even the smallest details can determine the final effect.
Detail cleaning: Use a cotton swab dipped in a little nail polish remover to gently wipe away any excess polish from the edges of your nails. If you’re using gel polish, wipe the nails with rubbing alcohol to remove any excess, leaving them looking like new.
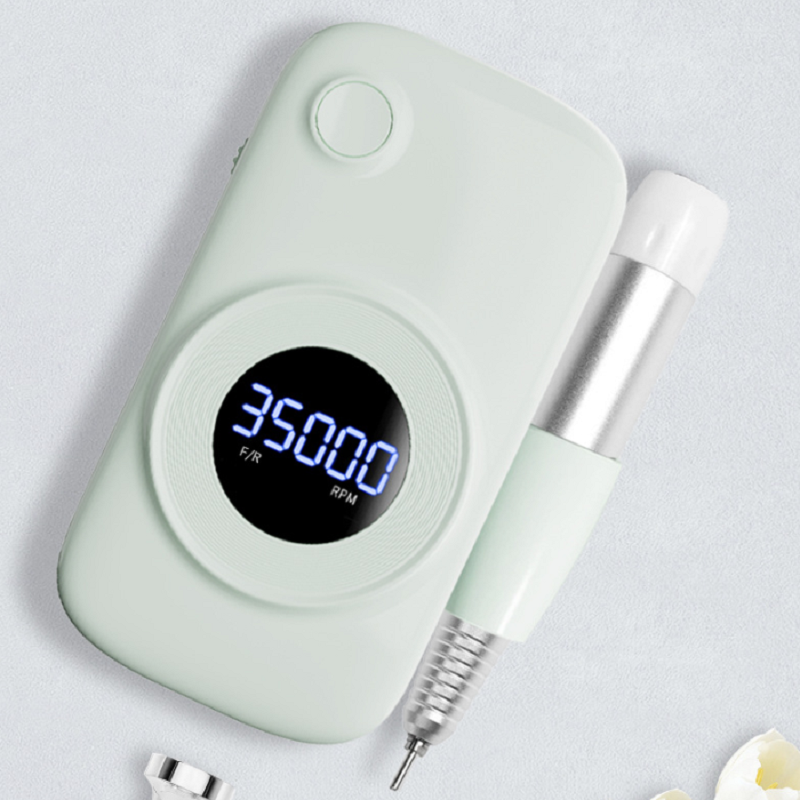
Are you still hesitant about buying a nail drill? Give it a try! I’d love to recommend the Matcha Charging Nail Drill , as I use it myself. It’s quiet, efficient, and offers excellent performance, along with a comprehensive tool set.
Conclusion
You see, the transition from clumsy nail files to handy nail drills isn’t just about upgrading tools; it’s also about shifting our definition of beauty. It no longer means lengthy waits and high costs, but a form of self-expression that can be achieved quickly and easily, anytime, anywhere.
Share your nail art tips in the comments section!