
You might be unfamiliar with nail drills. Have you ever wondered why they achieve smooth, beautiful nails while you only get bumpy, sometimes even hurting yourself? It’s not magic, and it’s definitely not just brute force. The real secret lies in one key metric: revolutions per minute (RPM).
I first started using a nail drill , I didn’t understand the speed, so the thickness of my nails varied from one to the next. Here are some of my thoughts, hoping they can help you.

Why is RPM so important?
If you’re new to nail drilling, you might not know what RPM is , but once you understand it, everything will become clear. Simply put, the higher the RPM, the faster the drill bit spins, and the harder it is to grind and cut.
Correctly controlling the speed allows you to:
Protects nails and skin : Using low speed when working on sensitive areas can effectively avoid accidental cuts, burns and nail bed damage. This is the ultimate feature to ensure operator safety.
Improved Efficiency: When you need to remove thick gel nail polish or sand down acrylic materials, higher RPMs can get the job done quickly, saving you a lot of time and energy.
Achieve Precision: For delicate jobs like trimming dead areas or engraving intricate patterns, a slower, more controlled speed provides the precision you need to create perfect lines and smooth edges.
I have a friend who always uses the highest speed, saying it’s faster, more efficient, and saves time. However, after using it a few times, her nails became very sensitive because the high speed damaged the cuticle.
Analyzing the RPM Pedigree: From Novice to Nail Master
The RPM range of your nail drill isn’t a set of random numbers; it’s a clear guide that tells you what tasks each speed is best suited for.
Safe Zone: Low Speed (<10,000 RPM)
This is your go-to speed for all your delicate work. If you’re a beginner, this range is your home turf.
Ideal for:
Preparing the natural nail surface
Gently lift or trim cuticles
Lightly sand and polish the nail surface
Remove excess nail polish that has overflowed onto the edge of the nail
At this speed, the risk of generating heat or damaging the deck is minimal, making it the perfect starting point for building your confidence and technique.
Optimal speed: Medium speed (10,000 – 20,000 RPM)
Welcome to the workhorse speed range for nail drills. This is where you’ll complete most of your daily nail work. Medium speeds are ideal for:
Polishing and shaping of nail extensions
Removing soft nail polish
Daily maintenance of acrylic or hard gel nails
This speed strikes the perfect balance between power and control. It’s fast enough to get the job done efficiently without sacrificing precision. As you become more proficient, you’ll find yourself spending most of your time in this range.
Power Zone: High Speed (>20,000 RPM)
This is the speed for hardcore work and is usually only recommended for experienced manicurists . If you are a novice, do not use such a high speed, or you may hurt yourself!
High speeds excel at quickly removing tough materials like acrylics, dip powders, or heavy building gels , and quickly reducing the volume of thick nails .
Important note: At such high speeds, friction generates significant heat. You must be extremely gentle when operating to avoid burning yourself or your customers. For beginners, jumping straight into high speeds can be disastrous. Improve your skills gradually before attempting this speed.
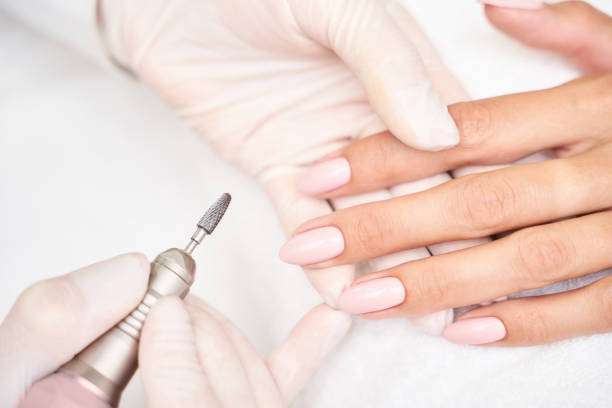
Master the professional skills of nail drilling
Knowing the scope of RPM is one thing, but using it effectively is another. Here are some suggestions based on my experience:
Always start at a low speed: Never go straight to maximum revs. Start at the lowest speed and then increase slowly based on your feel and needs.
Let the drill do the work: Your nail drill’s motor is your right-hand man. Don’t press too hard—instead, use a gentle, steady touch. Think of it like a paintbrush, not sandpaper. The more pressure you apply, the more friction and heat it creates.
Choose a drill bit based on the material: Your drill bit choice is just as important as the RPM setting. Using a coarse-grit drill bit and high RPM on natural nails is a recipe for disaster, just as using a fine-grit drill bit at low RPM might not be effective in removing a thick layer of gel.
in conclusion:
Mastering your drill’s RPM is key to unlocking professional-looking manicures at home. It’s a skill that requires both knowledge and practice. By understanding the purpose of each RPM range and practicing a gentle, steady hand, you can revolutionize your nail art technique and achieve results you never imagined possible.
What’s the tip you most wish you knew when you first started using a nail drill? Share your thoughts in the comments!