Nail drill maintenance tips : three steps to teach you how to clean and maintain

Do you know the lifespan of your nail drill? How do you clean and maintain it? As a nail art enthusiast, I know how important it is to have a well-maintained nail drill . Like any precision tool, regular cleaning and maintenance are key to maintaining optimal performance. If you’re a beginner, just starting out, or a nail art enthusiast like me, let’s take a look at how to clean and maintain a nail drill.
Below, I’ll share some of my personal core steps and tips to help you better care for your sander .

Step 1: Daily cleaning: Do it after use, simple and efficient
After each use, I clean my nail drill immediately. This prevents dust and nail scraps from accumulating, making the next use smoother.
Turn off the power : This is the most important safety step. Before doing any cleaning, I always make sure the power is off so I can be confident in what I am doing .
Cleaning the burr : I use a special burr cleaning brush or a small brush to carefully remove nail flakes and dust from the burr. If it’s a metal burr, I disinfect it with an alcohol pad. For ceramic or quartz burrs, I clean them with soapy water or a special cleaning solution and set them aside to dry thoroughly.
Wipe the body : Next, I’ll use a soft, dry cloth or paper towel to gently wipe the handle and body of the nail drill to remove any remaining dust . Never rinse with water. The first time I cleaned it, I didn’t know better and washed it with water, which can damage the internal circuitry. Water can seep into the drill, causing a short circuit or rust, which can cause the machine to malfunction or even completely fail.
If there are stubborn stains on the body, I sometimes use a cotton cloth with a little rubbing alcohol to gently wipe it.
Step 2: Deep maintenance: regular inspection to prevent problems before they occur
In addition to daily cleaning, I also regularly perform deep maintenance on my nail drill to ensure the normal operation of its internal components.
Cleaning the handle chuck : I know the handle chuck is the core of the nail drill. If there’s dust inside, the grinding head might loosen and the machine might vibrate. So, I periodically use a high-pressure air can or a hair dryer (on cold setting) to blow air into the chuck to remove the dust.
Lubricate the bearings : If my machine’s manual mentions lubrication, I’ll regularly add a few drops of special lubricant to the designated areas. This reduces friction, reduces noise, and helps extend the life of the motor.
Check the power cord : I regularly check the power cord for damage or exposed areas. If I find any issues, I stop using it immediately and contact a professional or customer service representative for repair or replacement.
Step 3: Storage and Use: Develop good habits and get twice the result with half the effort
Proper usage and storage habits are equally important and can significantly extend the life of my nail drill.
Avoid overuse : I don’t leave my nail drill running continuously for long periods of time. If I need to process a lot of nails, I’ll let it rest for a few minutes every 10-15 minutes to prevent the motor from overheating.
Correct installation of the mill : Before each use, I make sure the grinding head is fully inserted into the handle chuck and locked. If the grinding head is not installed properly, it will not only affect the efficiency, but may also damage the machine.
Dry Storage : When not in use, I always store my nail drill in a dry, cool place away from direct sunlight and moisture. If I haven’t used it for a while, I’ll even put it back in its original box to prevent it from collecting dust.
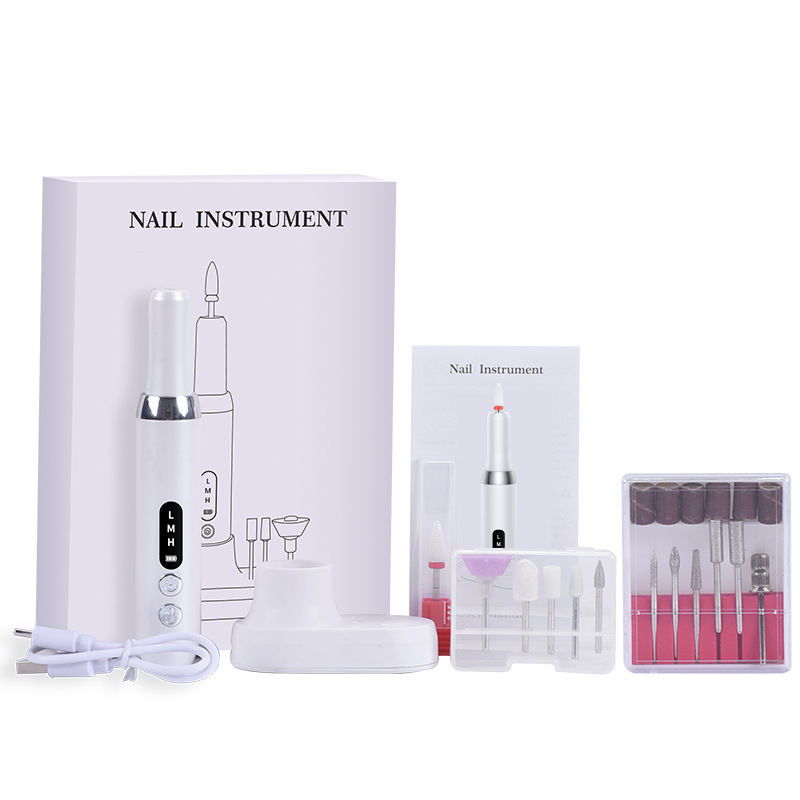
Nail drill FAQ:
Q1: Can I rinse the nail drill handle directly with water?
Absolutely not. The nail drill handle contains delicate electronic and mechanical parts. Directly washing with water can cause short circuits, rust, or damage.
Q2: How often do I need to lubricate my nail drill?
This depends on your nail drill model and how often you use it. Most home nail drills don’t require frequent lubrication under normal use. Always consult your product manual for manufacturer recommendations.
Q3: Why does my nail drill become hot after using it for a while?
A slight warming is normal, especially after prolonged continuous operation. However, if the handle becomes too hot to touch, it may indicate an overloaded motor or excessive internal bearing friction. In this case, shut down the machine immediately and let it rest.
Q4: What should I do if the grinding head is stuck in the handle and cannot be pulled out?
Never force the chuck, as this can damage it. A stuck grinding head is often caused by dust accumulation inside the chuck or improper handling. Ensure the handle’s lock/unlock mechanism is in the unlocked position. Then, gently wiggle the grinding head and try to remove it. If this doesn’t work, contact us for assistance and repairs.
Summarize:
By following the three steps above, regular cleaning and maintenance will keep your nail drill looking brand new. Following these simple steps, my nail drill always stays in excellent condition, providing me with long-lasting, efficient service. I hope these tips can help you, too!
Do you have any other questions about using nail art tools? Share your questions in the comments!