How to avoid gel polish residue during nail drilling? Detailed guide.

In modern nail care, nail drills have become an essential tool for many nail art enthusiasts and professional nail technicians. Whether it’s buffing the nail surface, trimming cuticles, or cleaning up gel polish residue, nail drills offer a precise and efficient operating experience. However, for beginners, one of the most common problems encountered when using a nail drill is leaving gel polish residue. This article will combine personal experience to provide you with comprehensive tips and methods to help you effectively avoid gel polish residue and achieve smoother, more beautiful nails.
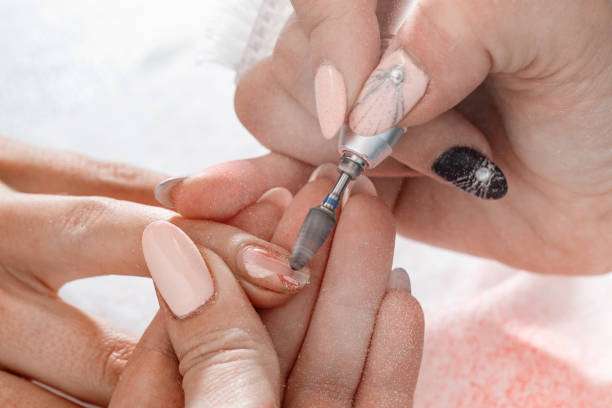
Understanding the causes of gel nail polish residue
Before discussing how to avoid gel polish residue, let’s understand its causes:
Uneven nail polishing:
Many people may have uneven nail surface thickness before applying gel polish. If the surface is not lightly buffed with a nail drill first, the gel polish may not adhere completely or may accumulate in certain areas, resulting in residue when removing or trimming the nails.
layer of gel polish
at once for a richer color, but a thick layer can easily leave residue that is difficult to clean at the edges and under the nails.
If the gel polish is not fully cured or the light is uneven, it may not harden completely in some areas when using a UV lamp to cure it. This can leave residue after buffing.
cleaning of tools, such as
Nail drills and bits can carry over residue from previous nail polish treatments into new applications, increasing the risk of residue on the nail surface.
Nail drill polishing techniques
Using a nail drill to buff the nail surface is a key step to avoid gel polish residue. Here are a few practical tips:
Choosing the right drill
Bit: Drill bits come in different materials and grits. Beginners are advised to use a grinding wheel or round drill bit for initial buffing to avoid damaging the nail surface with overly sharp bits. Coarse-grit drill bits are suitable for removing thick layers of gel polish, while fine-grit drill bits are suitable for finishing the buff and making the nail surface smooth.
force
when using a nail drill, which can easily cause scratches or drill bit slippage, leaving residue. It is generally recommended to use low to medium speeds, gently polish, and keep the drill bit at a slight angle to the nail surface.
drill
bit across the entire nail at once, divide the nail into several small sections and file them gradually. This ensures that the gel polish is evenly removed from each section while also reducing the risk of residue.
nail
polishing process, nail polish gel and dust can accumulate on the drill bit. It is recommended to clean the drill bit with a brush or alcohol after each one or two nails to prevent residue from returning to the nail surface.
Preparations before removing armor
Even with meticulous filing, improper removal of nail polish can easily leave residue. Before using a nail drill, you can prepare the following:
Soak your nails in nail polish
remover for 5–10 minutes to soften the gel polish, reduce friction between the drill bit and the hard gel polish, and minimize residue.
Softening cuticles and dead
Skin: Gel polish residue often appears on the nail edges and corners. You can first use a softener to gently soften the cuticles and then use a nail drill to trim them.
To protect the nail surface
For thin or sensitive nails, you can apply a layer of clear nail polish or nail strengthener before drilling to form a protective layer and prevent the drill from directly damaging the nail surface.
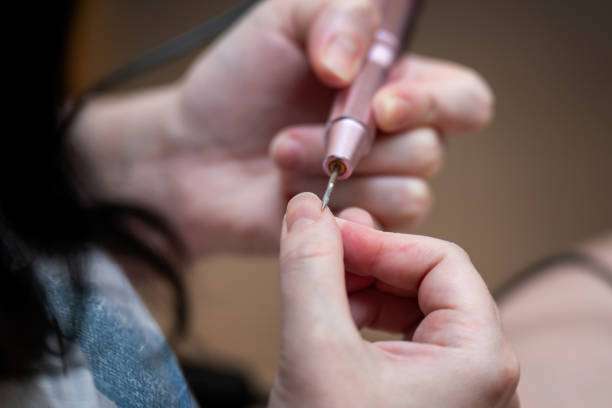
Practical operating techniques to avoid residue
Here are some practical tips I’ve learned while using a nail drill:
The buffing process
should begin in the center of the nail and gradually work outwards to avoid leaving any residue at the edges. Many beginners like to buff directly from the edges, which can easily result in residue or scratches on the nail surface.
Observe the nail surface from multiple angles.
using light or a magnifying glass, especially the edges and corners of the nail, and confirm that there is no residue before proceeding to the next step.
Regularly changing drill bits
is important. Using the same drill bit for extended periods, especially a coarse-grind bit, will reduce its grinding effectiveness and increase the likelihood of gel polish residue. It is recommended to replace drill bits every 1–2 months, or as needed based on usage frequency.
After removing most of the gel polish, gently buff the nail surface with a fine abrasive bit to make it smooth and shiny, reducing residue.
As a nail art enthusiast, I once had severe gel polish residue, especially around the edges of my nails, due to improper use of a nail drill. Later, I summarized a few lessons learned:
Before each buffing, soften the gel polish with nail polish remover to significantly reduce residue.
When grinding, maintain a low to medium speed and light pressure, allowing the drill bit to “obediently” follow the curve of the surface, rather than applying hard pressure.
After filing, clean the nails and drill bit with a brush, then wipe the nail surface with a cotton pad to ensure no debris remains. These steps will leave almost no residue on the nail surface, resulting in a smooth, natural finish and reducing the risk of damage.
Cleaning and maintenance
To prevent gel polish residue from remaining in the nails long-term, cleaning and maintaining the nail drill is also important:
After each use,
Clean the drill bit with a brush, then wipe it with alcohol to prevent the nail polish from drying and hardening on the drill bit.
Keep the drill rig surface clean.
Dust and debris generated during grinding can easily fall onto the drill rig. It is recommended to wipe it with a dry cloth regularly to avoid affecting the next operation.
Regularly check for drill bits.
wear. Severely worn drill bits are not only inefficient, but they are also prone to scratching the nail surface, increasing the risk of residue buildup.
Dry
Nail drills and drill bits should be stored in a dry environment to prevent moisture from causing rust or damage.
Tips to improve polishing results
For small crevices, use hand tools such as a polishing stick or cotton swab to ensure no residue remains.
To control the thickness of the gel polish coating
Apply thin layers as much as possible, and allow it to cure fully before buffing. This makes it easier to remove and reduces the probability of residue.
The UV lamp
ensures even curing, guaranteeing uniform illumination and allowing each layer of gel polish to fully harden, minimizing uncured gel polish residue.
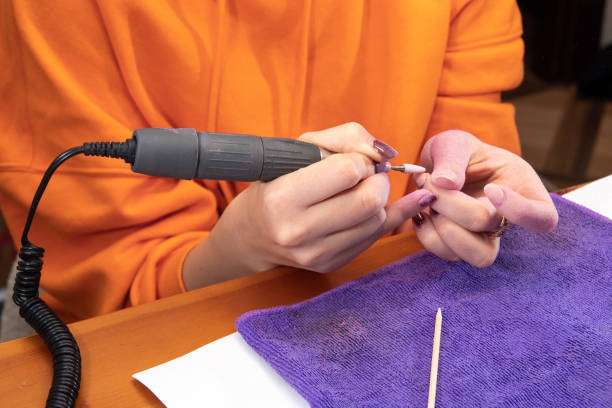
Summarize
The key to avoiding gel polish residue when using a nail drill is
Soften the gel polish thoroughly before buffing.
Choose the appropriate drill bit and master the rotation speed and force.
Polishing by region and step by step
Pay attention to the cleaning and maintenance of drill bits and drilling rigs.
Control the thickness of the gel polish coating to ensure uniform curing.
By combining these techniques with personal experience, you can achieve a clean, smooth nail surface, reduce residue, and make the nail art effect more perfect.
If you haven’t tried these techniques yet, why not start practicing today? You’ll find that using nail drills is both efficient and safe, easily preventing gel polish residue. Try it now and experience the joy of clean, smooth nails!