
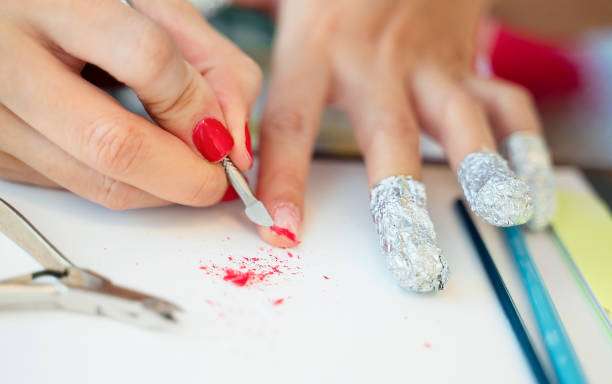
Are you tired of wrapping your nails in tinfoil and waiting for the chemical reaction of nail polish remover? Or perhaps you’ve experienced heat, pain, or even abrasion to your nail bed from improper use of a nail drill ? While a nail drill is undoubtedly a powerful tool for improving efficiency, it can also be a potential culprit for damaging your nails if used improperly.
nail drills safely and efficiently like a professional .
Step 1: “Safety Check” before removing the armor
Before formal operation, adequate preparation is the key to ensuring safety.
Choose the right grinding head : Different grinding heads have different functions. For removing gel polish, we recommend using a medium-grit ceramic or tungsten carbide grinding head. These grinding heads are sharp and durable, quickly removing gel polish while minimizing heat buildup and the risk of burns.
Adjust your speed : For beginners, it’s recommended to set your sander to between 5,000 and 10,000 RPM. This speed is fast enough to complete the task efficiently while giving you enough reaction time to control the pressure. As you become more skilled, you can gradually increase the speed, but remember that you won’t be able to do this until you’re an experienced pro.
Wear your “safety gear “: The grinding process generates a large amount of fine dust, which is harmful to the respiratory tract if inhaled for a long time. Be sure to wear a mask and protective glasses to protect your breathing and eyes.
Step 2: Three elements of perfect armor removal
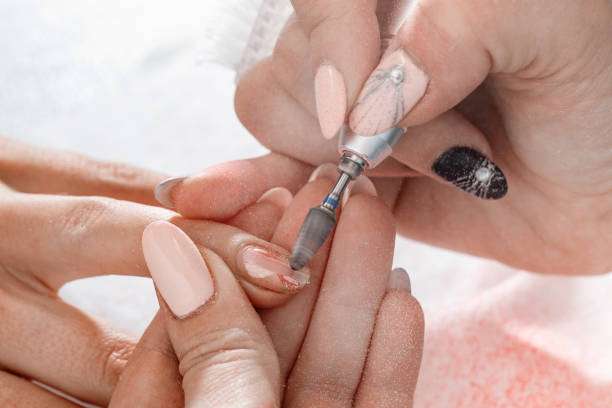
Now, let’s get into the actual practice. Remember these three core elements: grip, angle, and pressure .
Steady grip: Hold the sander handle like a pen, with your index finger or thumb resting lightly on your nail as a fulcrum. This will help you keep your hand steady while operating and avoid damaging the skin around your nails due to hand tremors.
A smooth grinding angle: Keep the grinding head parallel to the nail surface or slightly tilted (0-15 degrees) . This angle maximizes the contact surface of the grinding head, ensuring even removal while avoiding grooves or damage to the nail surface.
gentle, rhythmic pressure: Apply only light pressure, moving the sander rhythmically from the base of the nail toward the tip. Never dwell on the same area for too long , as this can cause a burning sensation due to frictional heat. If your nails feel hot, remove the sander immediately and check to see if the speed and pressure are excessive.
Step 3: Finishing and cleaning to restore nails to health
Once most of the polish is removed, your job isn’t over yet.
Know when to stop: The goal is to remove most of the gel polish without stripping down to the natural nail. You should be leaving a thin layer of base coat on your nails to protect them.
Clean and nourish: After removing the nail polish, use a small brush to clean the dust on the nail surface, then wipe it with an alcohol pad to disinfect it. Finally, apply nourishing oil to replenish moisture and restore the nail to a healthy state.
Clean your tools: After each use, immediately remove any residue from the grinding head with a small brush and soak it in alcohol or a special disinfectant to ensure hygiene.
Safety Tips:
If you feel any stinging on your skin during the sanding process, stop immediately. This usually means you’re using too high a speed, too much force, or the angle incorrectly. If you’re a beginner, we strongly recommend practicing with artificial nails until you’ve mastered the technique before moving on to real nails. This ensures safety and prevents unnecessary injury.
FAQ :
1. How often should I clean my nail polish head?
Clean and disinfect the sanding head immediately after each use. Leaving nail scraps and dead skin on the sanding head is not only unhygienic, but also affects the effect of the next use and even reduces the life of the sanding head.
- Why is my nail drill handle hot?
Too high a speed: Using too high a speed for unnecessary tasks.
Excessive pressure: Excessive force causes friction between the grinding head and the nail to generate heat. If the handle feels abnormally hot, stop using it immediately, let the machine cool down, and check your operation.
- When buying, does a higher speed mean better quality?
Not exactly. A high RPM indicates the machine’s peak performance, but higher isn’t necessarily better. For most nail polish removal or manicure jobs, a 25,000 RPM sander is more than adequate.
Summarize:
Mastering these tips will help you use your nail drill more confidently and safely , allowing you to enjoy the convenience of efficient nail removal. Do you have any other questions about using nail tools? Share your questions in the comments!