How to create Christmas nail art with nail drill : Festive elegance starts at your fingertips.

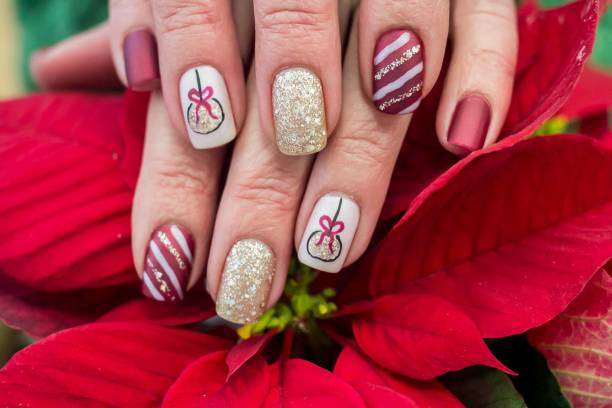
With Christmas approaching, whether it’s a family gathering, a company party, or a holiday date, a pair of exquisitely manicured nails can instantly elevate the festive atmosphere. For those who enjoy DIY nail art, a nail drill is an indispensable tool. It not only makes your nails more professional and neat but also saves a lot of time. This article will share how to create Christmas-themed nail art using a nail drill , making your hands the highlight of the holiday season.
Why choose Nail Drill for your holiday nail art?
During the holiday season, many people want to try intricate patterns, sequins, French manicures, or tiny Christmas elements (such as Christmas trees, snowflakes, reindeer, etc.). Hand-applied manicures are prone to unevenness, while nail drills offer the following advantages:
Precision buffing: Trimming the nail surface and edges to make the base color of the nail art smoother and the pattern clearer.
High-efficiency polishing: Allows clear coats, pearlescent or metallic finishes to adhere evenly, enhancing the gloss.
Professional results: Easily handles minor cracks, bevels, or bumps, making your fingertips look like they came from a professional nail salon.
With the help of nail drill , you can easily do your Christmas nail art at home and experience the fun and sense of accomplishment of DIY.
Preparation: Tools and Materials
Before you begin, prepare the following tools and materials:
Nail drill and various grinding heads (coarse, medium, and fine grinding heads).
Base nail polish and clear top coat
Holiday-themed nail polish colors: red, green, gold, silver, white
Christmas nail decorations: sequins, stickers, small beads or glitter
Cotton swabs, rubber sticks, and nail polish remover are used for trimming and cleaning.
Having sufficient materials prepared will make the whole nail art process smoother and ensure a more perfect holiday nail art effect.
Step 1: Buffing and shaping the nail surface
Using a nail drill to buff the nail surface is a basic step in holiday nail art:
Exfoliate: Gently buff the nail surface with a coarse buffing head to remove dead skin and minor cracks.
Trim the nail edges: Use a fine-grit nail file to smooth the nail edges and ensure even color application.
Polish the nail surface: Lightly polish with a medium buff to make the base color adhere better and enhance the saturation of the festive colors.
This process not only ensures a beautiful appearance but also makes the nail surface smooth and neat, reducing the probability of color peeling during the holidays.
Step 2: Choose Christmas theme colors
Common nail colors for Christmas include:
Classic red: symbolizing festive enthusiasm and warmth.
Dark green and turquoise: creating a forest Christmas atmosphere
Gold and silver: Enhance the sparkle, perfect for a party style.
White: mimics the effect of snowflakes or ice crystals.
You can choose a single-color French manicure, or combine red, green, gold, and silver to create a gradient, cross stripe, or Christmas-themed base color.
Step 3: Drawing Holiday Patterns
After the base coat has dried completely, you can begin drawing the holiday patterns:
Christmas tree: Green background with small red dots as decorative balls.
Snowflakes: Use fine white or silver brushes to depict snowflakes, adding to the winter atmosphere.
Reindeer and Gifts: Simple yet elegant using small gold or red stickers.
A friend once shared that she used silver glitter to draw small snowflakes on a single nail, and received compliments from her colleagues, which instantly put her in a great mood.
At this point, the fine grinding head of the nail drill can help refine the edges of the design, making the lines more delicate. For DIY enthusiasts, attention to detail can significantly enhance the quality of the nail art and make the festive atmosphere even stronger.
Step 4: Add sequins and embellishments
The most captivating aspect of holiday nail art is its shimmering element:
Adorn your fingertips with sequins, tiny beads, or glitter.
You can focus on a single nail to create a focal point.
A clear top coat is applied to fix the decoration and increase its durability.
Nail drills can also help smooth the nail surface in this step, ensuring that decorations do not protrude or easily fall off, making the manicure look more professional.
Step 5: Protection and Care
After getting your holiday manicure, aftercare is just as important:
Apply a layer of clear top coat to protect the pattern and sequins.
Apply a top coat or base coat every 2-3 days to prolong the durability of your manicure.
Use hand cream to keep the skin on your nails and fingertips soft and supple.
I had my nails done for Christmas before the party, and when my friends took photos on the day, they couldn’t help but ask me how I managed to make the designs so exquisite. I was so happy.
With proper care, your manicure can remain shiny and intact even during holiday parties or while preparing Christmas dinner in the kitchen.
The psychological value of DIY Christmas nail art
Creating festive nail art is not just about aesthetics, but also about psychological meaning:
Add a touch of ritual: Carefully embellish your fingertips to enhance the festive atmosphere.
Stress relief: Fine motor skills and color coordination can help relax the mind.
Self-expression: Showcasing your personal holiday style through patterns and colors
Especially during the busy holiday season, a pair of exquisite Christmas nails can be a small ritual of self-care, making the holiday experience more enjoyable.
Summary of the advantages of nail drill
using nail drill to create Christmas nail art:
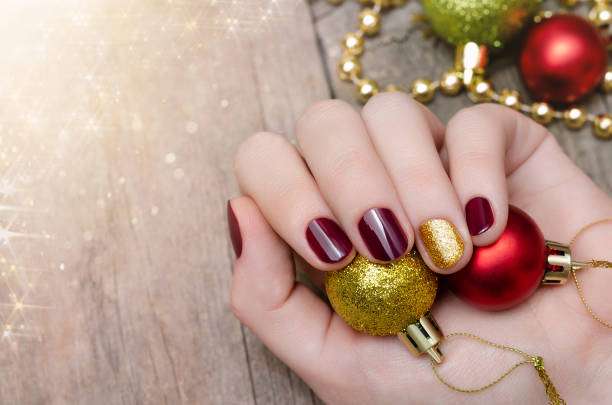
Precise and efficient: Easily handles nail surface cracks and details, making nail art more professional.
Saves time: Faster than hand sanding, perfect for busy holiday lifestyles.
Enhanced creative freedom: Different grinding heads meet diverse needs for base colors, patterns, and decorations.
Whether it’s a simple color scheme or an intricate Christmas design, nail drill can make DIY nail art look just like a professional nail salon.
Summarize:
Christmas nail art is an important detail in holiday decorations. By using a nail drill to buff the nail surface, refine the edges, and add decorations, you can easily create professional-looking holiday nail art at home. Whether it’s the classic combination of red, green, and gold, or small details like snowflakes and reindeer, you can fill your fingertips with holiday spirit while enjoying the fun and sense of accomplishment of DIY.
If you’d like to try creating your own Christmas nail art, consider a nail drill . Combine it with base nail polish and decorative materials to make every nail art session a little highlight of the holiday ritual.
A nail drill now and let your fingertips shine with festive cheer!