Nail drill bits: The ultimate guide to 3-step cleaning and disinfection

You may have spent hours learning how to perfectly operate your nail drill, mastering the exquisite techniques of removing gel nails and cleaning dead skin, but one aspect is often overlooked—hygiene. Whether you are a licensed professional nail technician or a DIY nail enthusiast at home, your nail drill head can unknowingly become a “highway” for bacteria, fungi, and even viruses.
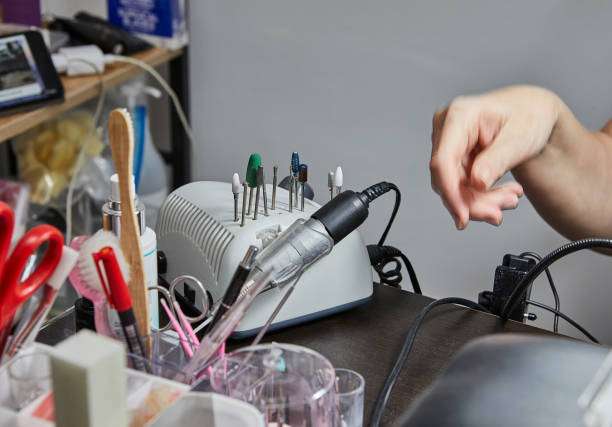
The Scientific Principles of Cleaning vs. Disinfection
Cleaning is the prerequisite; disinfection is the result. Debunking the biggest nail art misconception. Many nail technicians and enthusiasts mistakenly believe that wiping the buffing head with alcohol is sufficient for disinfection. This is a fatal misconception. Professional salon hygiene standards require a strict two-step process:
Cleaning: This is a physical process. The goal is to remove all visible debris, dust, grease, and residual nail material from the surface of the nail drill head. Imagine if there were food residue on a plate; spraying disinfectant directly on it wouldn’t be effective—the residue would form a “protective barrier,” preventing the disinfectant from reaching and killing the microorganisms underneath.
Disinfection: This is a chemical or physical process. It refers to the use of professional nail tool disinfectants or methods to kill or inhibit almost all bacteria, fungi, and viruses on the nail head.
Only by thoroughly cleaning the nail drill head can conditions be created for successful disinfection. Residual organic matter is the biggest enemy of disinfectants.
Step 1: Professional Cleaning Process – Say Goodbye to Visible Residue
Simply rinsing with water or brushing a couple of times with an old toothbrush is far from enough. To achieve professional standards, you need a systematic cleaning routine and tools.
Preliminary dry brushing and separation: Removing adhering nail dust. Before immersing the nail drill head in liquid, a preliminary dry brushing process must be performed:
Tool selection: Use a dedicated copper wire brush or stiff-bristled brush. Copper wire brushes are particularly effective at cleaning stubborn gel residue from tungsten carbide grinding heads.
Instructions: Above your nail dust collector or inside a covered trash can, gently but firmly brush away all visible powder from the buffing head. Be careful to be gentle in this step to avoid creating dust in the air.
After dry brushing, we need to use the solvent to break down the residue: soaking and dissolving, along with the application of head cleaning fluid.
Immerse the grinding head in a specialized nail drill cleaning solution (such as a neutral solution containing surfactants) or neutral soapy water.
Soaking time is usually 5 to 10 minutes, which is sufficient to soften and dissolve any remaining grease and gel.
Ultrasonic cleaners: “black technology” that reaches deep cleaning blind spots. For those with complex textures and hard-to-reach crevices (especially diamond or ceramic nail drill heads), ultrasonic cleaners are your best investment.
Working principle: Ultrasonic cleaners generate countless tiny “bubbles” (called cavitation) in water/solution through high-frequency vibration. When these bubbles burst, they generate powerful micro-shock waves that, like millions of miniature brushes, peel away dirt from the blind spots of the cleaning head.
How to use: Place the grinding head into the ultrasonic cleaner containing the special solution and run the recommended cycle time. It effectively cleans areas that traditional brushes cannot reach, preventing damage to the grinding head from excessive force.
While tungsten carbide grinding heads are durable and can withstand the friction of copper wire brushes, for finer and more delicate ceramic grinding heads, it is recommended to rely primarily on ultrasonic cleaners and soft brushes to prevent damage to the surface or cutting edge.
Step 2: Achieving deep disinfection to a sterile state
After cleaning, we move on to disinfection. Remember: cleaning is optional, but disinfection is mandatory!
When choosing professional chemical disinfectants, avoid using ordinary alcohol (isopropanol/ethanol) purchased from supermarkets, as alcohol evaporates too quickly and cannot provide a sufficiently long period of wet contact to achieve a qualified disinfection effect.
Use broad-spectrum disinfectants specifically designed for nail and hair tools. These disinfectants typically contain quaternary ammonium compounds, which are effective in killing a variety of pathogens.
Strictly adhere to the soaking time: This is crucial for successful disinfection. If the disinfectant solution requires a 10-minute soak, it must be soaked for the full 10 minutes! If the grinding head is not completely submerged within the specified time, the disinfection cannot be considered effective.
Physical sterilization (for your information): High-temperature autoclaves are used in some high-end salons and medical facilities. This is the highest level of hygiene assurance, usually only applicable to metal tools, and is expensive.
Dry and airtight storage: Ensuring long-lasting disinfection effects. The final step in disinfection is just as important as cleaning—drying and storing.
Thorough drying: After removing the nail drill head from the disinfectant solution, it must be completely dried with a clean towel or paper towel. Residual moisture or disinfectant may not only corrode the drill head (causing rust) but may also dilute the disinfectant for the next use.
Professional storage: Sterilized grinding heads must be stored in sealed, dry, and clean containers, such as dedicated grinding head storage boxes or professional UV sterilization cabinets.
the nail drill from this sealed, sterilized container in front of the customer to begin the procedure, in order to build customer trust.
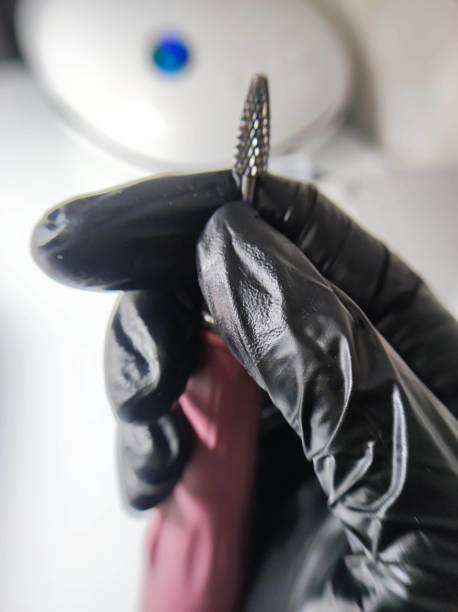
Summarize:
Cleaning and disinfection are inseparable. A thoroughly clean and effectively disinfected nail drill head is not only a reflection of professionalism but also a commitment to customer health.
Want to know if you’re really doing it right? Check this process now and proudly demonstrate your professional hygiene standards to your next customer!